How to Replace an Anti - Sway Bar End Bushing
As a leading Anti - Sway Bar supplier, I understand the importance of maintaining and replacing anti - sway bar end bushings for optimal vehicle performance. Anti - sway bars, also known as stabilizer bars, play a crucial role in reducing body roll during cornering, providing better handling and stability for your vehicle. Over time, the end bushings of the anti - sway bar can wear out, leading to decreased performance and potential safety issues. In this blog, I'll guide you through the process of replacing an anti - sway bar end bushing.
Tools and Materials Needed
Before you start the replacement process, gather the following tools and materials:
- Jack and jack stands
- Socket and wrench set
- Pry bar
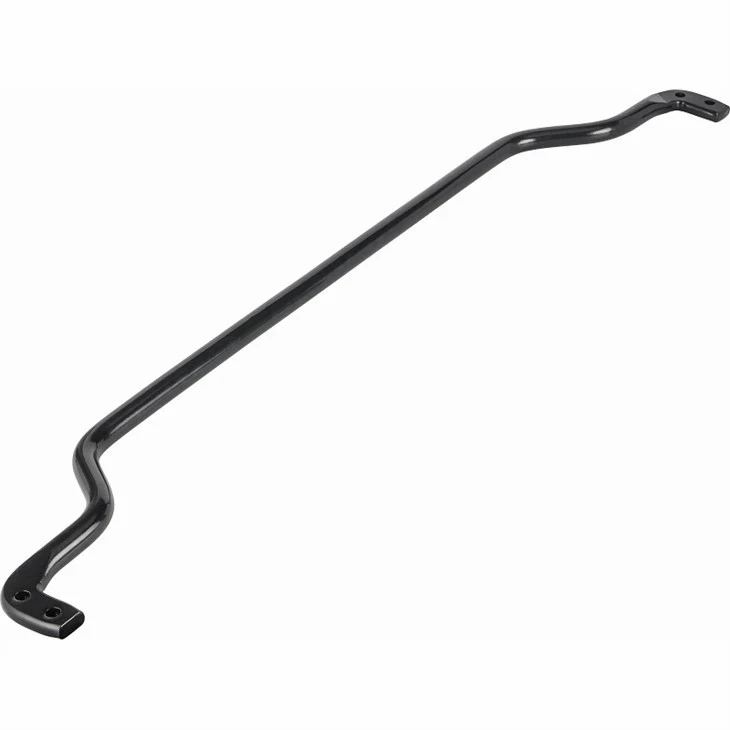
- New anti - sway bar end bushings
- Lubricant (silicone - based is recommended)
- Penetrating oil
- Wire brush
Step 1: Prepare Your Vehicle
First, park your vehicle on a flat, level surface and engage the parking brake. For added safety, place wheel chocks behind the rear wheels if you're working on the front anti - sway bar, or in front of the front wheels if you're working on the rear one. Then, use the jack to lift the vehicle on the side where you'll be working and secure it with jack stands. Make sure the vehicle is stable before proceeding.
Step 2: Locate the Anti - Sway Bar End Bushing
The anti - sway bar end bushings are typically located at the ends of the anti - sway bar, connecting it to the suspension components. On most vehicles, they are visible near the wheels. You may need to use a flashlight to get a clear view, especially if your vehicle has a lot of under - body debris.
Step 3: Remove the Old Bushing
- Loosen the fasteners: Use your socket and wrench set to loosen and remove the bolts or nuts that hold the anti - sway bar end link to the suspension and the anti - sway bar itself. In some cases, these fasteners may be rusted or corroded. If so, apply penetrating oil and let it sit for a few minutes to help loosen them.
- Separate the end link: Once the fasteners are removed, use a pry bar to gently separate the anti - sway bar end link from the suspension and the anti - sway bar. Be careful not to damage any surrounding components.
- Remove the old bushing: After separating the end link, you can usually slide the old bushing off the anti - sway bar. If it's stuck, you may need to use a wire brush to clean the area and then apply more penetrating oil to help loosen it.
Step 4: Clean the Area
Use a wire brush to clean the anti - sway bar and the end link where the new bushing will be installed. Remove any dirt, rust, or old lubricant. This will ensure a proper fit and prevent premature wear of the new bushing.
Step 5: Install the New Bushing
- Lubricate the new bushing: Apply a thin layer of silicone - based lubricant to the inside of the new anti - sway bar end bushing. This will make it easier to install and also help reduce friction during operation.
- Slide the new bushing onto the anti - sway bar: Carefully slide the new bushing onto the anti - sway bar, making sure it is properly aligned.
- Reattach the end link: Reconnect the anti - sway bar end link to the suspension and the anti - sway bar. Tighten the bolts or nuts to the manufacturer's recommended torque specifications. You can usually find these specifications in your vehicle's service manual.
Step 6: Repeat for the Other Side
If you're replacing the bushings on both sides of the vehicle, repeat steps 2 - 5 on the other side.
Step 7: Lower the Vehicle
Once you've installed the new bushings on both sides (if applicable), carefully lower the vehicle using the jack. Remove the jack stands and the wheel chocks.
Step 8: Test Drive
Take your vehicle for a short test drive to ensure that the new bushings are working properly. Pay attention to how the vehicle handles during cornering and any unusual noises or vibrations. If you notice any issues, stop the vehicle and re - check your work.

Benefits of Replacing Anti - Sway Bar End Bushings
- Improved handling: Worn bushings can cause the anti - sway bar to move more freely than intended, leading to increased body roll during cornering. Replacing the bushings restores the proper function of the anti - sway bar, resulting in better handling and stability.
- Reduced noise and vibration: Loose or worn bushings can create rattling or clunking noises, especially when going over bumps. New bushings eliminate these noises and provide a smoother ride.
- Extended component life: By replacing the bushings, you prevent excessive movement of the anti - sway bar, which can also reduce wear on other suspension components, such as the end links and ball joints.
Our Anti - Sway Bar Products
As an Anti - Sway Bar supplier, we offer a wide range of high - quality anti - sway bars and related components. For example, we have the Cabin Anti Roll Bar for Volvo Renault Trucks, which is designed to provide excellent stability for heavy - duty trucks. Our Rear Anti Roll Bar for Citroen Peugeot Fiat is specifically engineered to enhance the handling of these popular European vehicles. And if you own a LAND ROVER Range Rover Sport 2010 - 2013, our Manufacturer Direct Rear Sway Bar Stabilizer Bar Antiroll Bar Kits For LAND ROVER Range Rover Sport 2010 - 2013 LR017423 is the perfect solution for improving its performance.
Contact Us for Procurement
If you're interested in purchasing anti - sway bars or related components, we'd love to hear from you. Whether you're a professional mechanic, a car enthusiast, or a fleet manager, we can provide you with the products you need at competitive prices. Contact us to start a procurement discussion and find the best anti - sway bar solutions for your vehicles.
References
- Chilton's Auto Repair Manuals
- Haynes Repair Manuals
- Vehicle manufacturer's service manuals


